# Accessing Keycloak admin console
The Keycloak administration console is exposed on the `/auth` page of your installation; for example, `https://app.akamas.io/auth`.
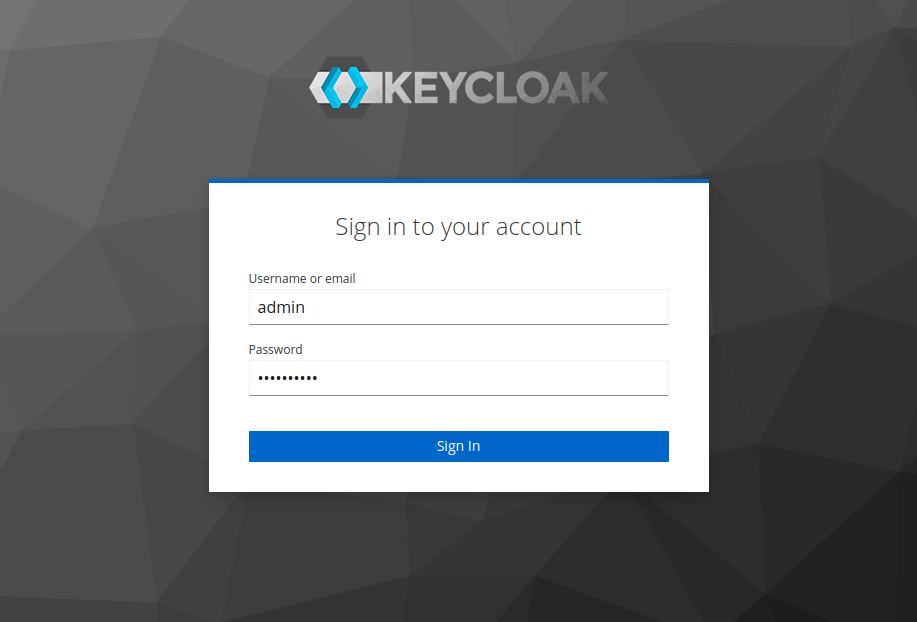
Now log into the Administration Console using the admin user.\
The password for such a user can be retrieved in different ways, depending on the installation method:
* **Kubernetes.**\
A custom password can be specified during the installation by providing a value `keycloak.adminPassword` in the helm chart. If this value was left unspecified, you can retrieve the auto-generated password with the following command:
```bash
kubectl get secret keycloak-admin-credentials \
-o go-template='{{ .data.KEYCLOAK_ADMIN_PASSWORD | base64decode }}'
```
Note that you might need to provide the namespace in which Akamas has been installed using the flag `-n namespace`
* **Docker.**
A custom password can be specified during the installation by providing a value for the variable `KEYCLOAK_ADMIN_PASSWORD` in the environment or the docker-compose file. if during the installation you didn't specify the value, you can retrieve the auto-generated password with the following command:
```bash
docker exec -it keycloak cat /config/keycloak_admin | cut -d '|' -f2
```
### Akamas realm
Once logged in, select the *akamas* realm from the dropdown menu and navigate to the *Identity providers* section.
.png?alt=media)