# Azure Active Directory
This guide provides a step-by-step walkthrough to configure Azure Active Directory (AD) as an external identity provider for Akamas users.
{% hint style="info" %}
Ensure you have an Azure account with the **Application.ReadWrite.All** permission to create app registrations in your Azure AD tenant.
{% endhint %}
## Configure the App registration
To integrate Akamas with your Azure AD, you’ll need a dedicated App registration in your Azure organization. You can either use an existing registration or create a new one.
* **Using an Existing Registration:** Skip to [#get-the-client-configuration](#get-the-client-configuration "mention").
* **Creating a New Registration:** Follow the instructions below.
{% hint style="info" %}
Multiple Akamas instances can share a single app registration, meaning any AD user added to the registration can access all associated Akamas instances. To manage access with finer granularity, create a unique app registration for each Akamas instance.
{% endhint %}
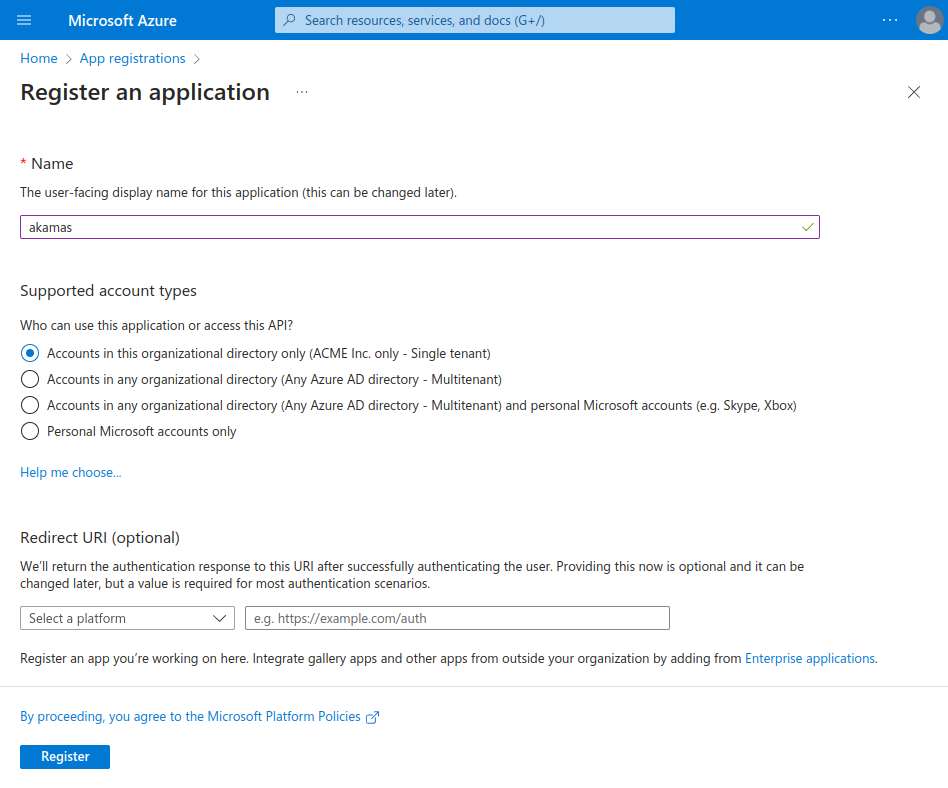
### Creating a new App registration
* In your Azure portal, navigate to [**App registrations**](https://portal.azure.com/#blade/Microsoft_AAD_RegisteredApps/ApplicationsListBlade) and select **New registration**.
* Provide:
* A **name** for the application.
* The **account type** that best suits your use case.
* Complete the process by clicking **Register**.
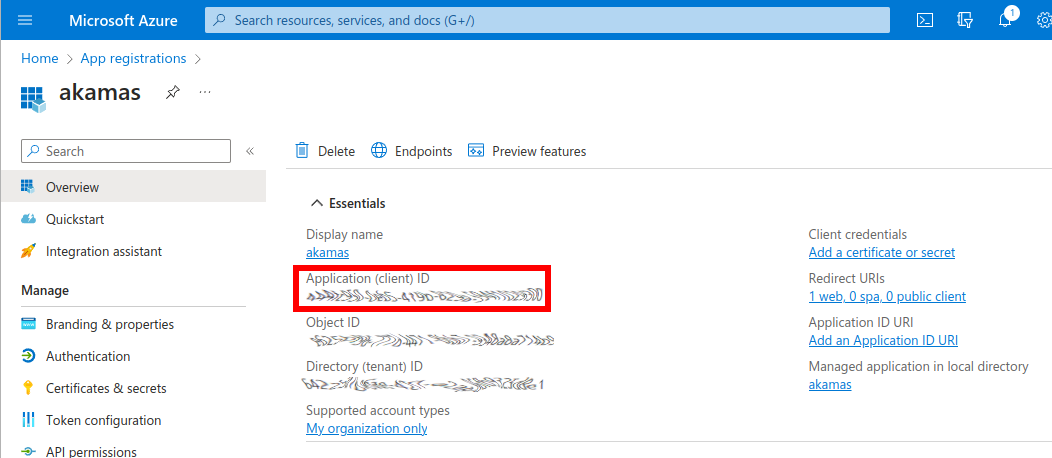
### Get the client configuration
On the **Overview** page of your app registration, make note of the following values:
* **Application (client) ID**
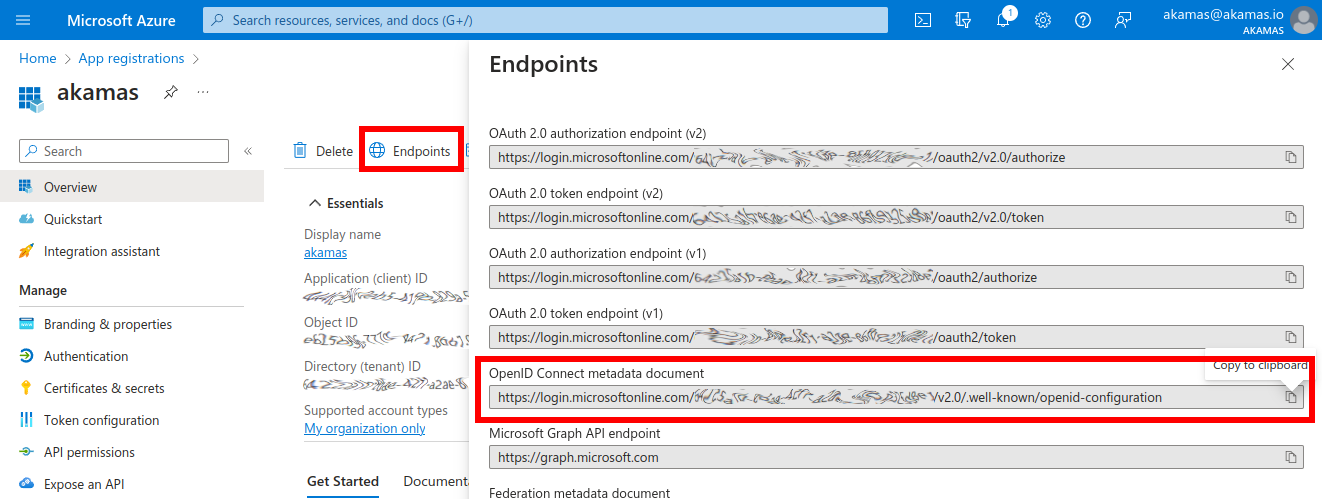
* **OpenID Connect metadata document** (found in the "Endpoints" side panel)
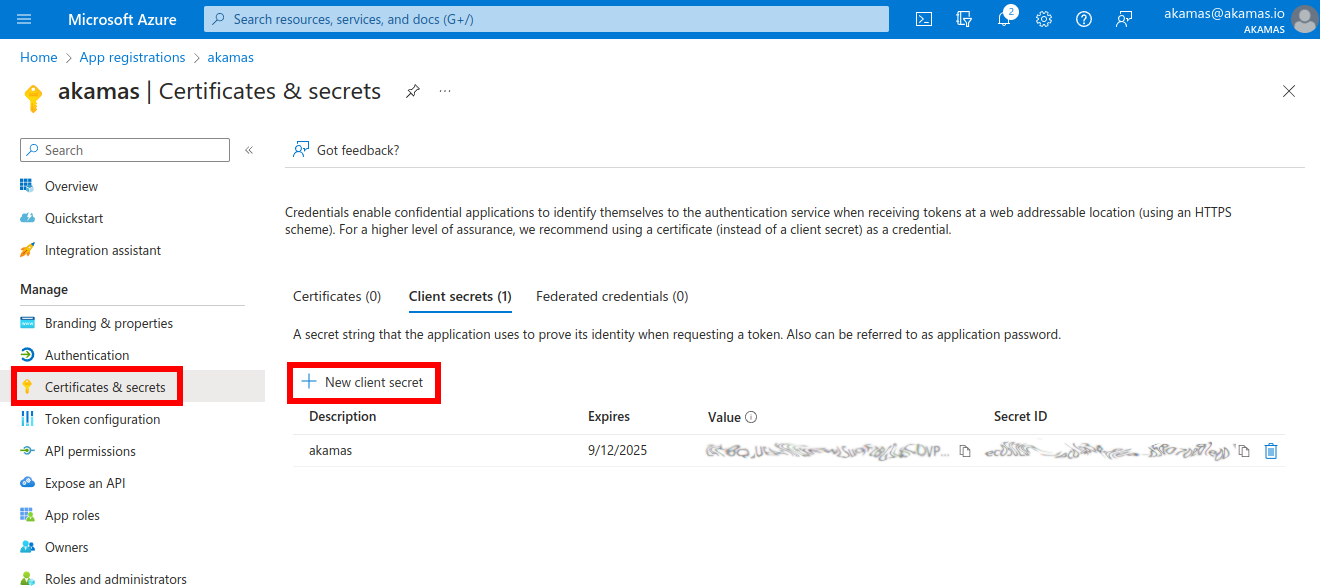
Then, in the **Certificates & secrets** section, create a new **Client secret** and note its value. With these values ready, proceed to configure the provider in the Keycloak console.
## Create the Identity provider in Keycloak
In the Keycloak admin console, access the **Identity Providers** section within the **Akamas** realm (see the [](https://docs.akamas.io/akamas-docs/3.6/managing-akamas/users-management/configure-an-external-identity-provider "mention") page for more details).
* Select **OpenID Connect v1.0** to start creating the new provider.
* Provide:
* **Alias** (e.g., "microsoft") and optional **Display name** (e.g., "Microsoft") for the login page.
* In the **OpenID Connect settings** section, populate the following fields:
* **Discovery endpoint:** Enter the URL of the *OpenID Connect metadata document*. A green box indicates successful validation.
* **Client ID:** Enter the *Application (client) ID*.
* **Client Secret:** Enter the generated client secret.
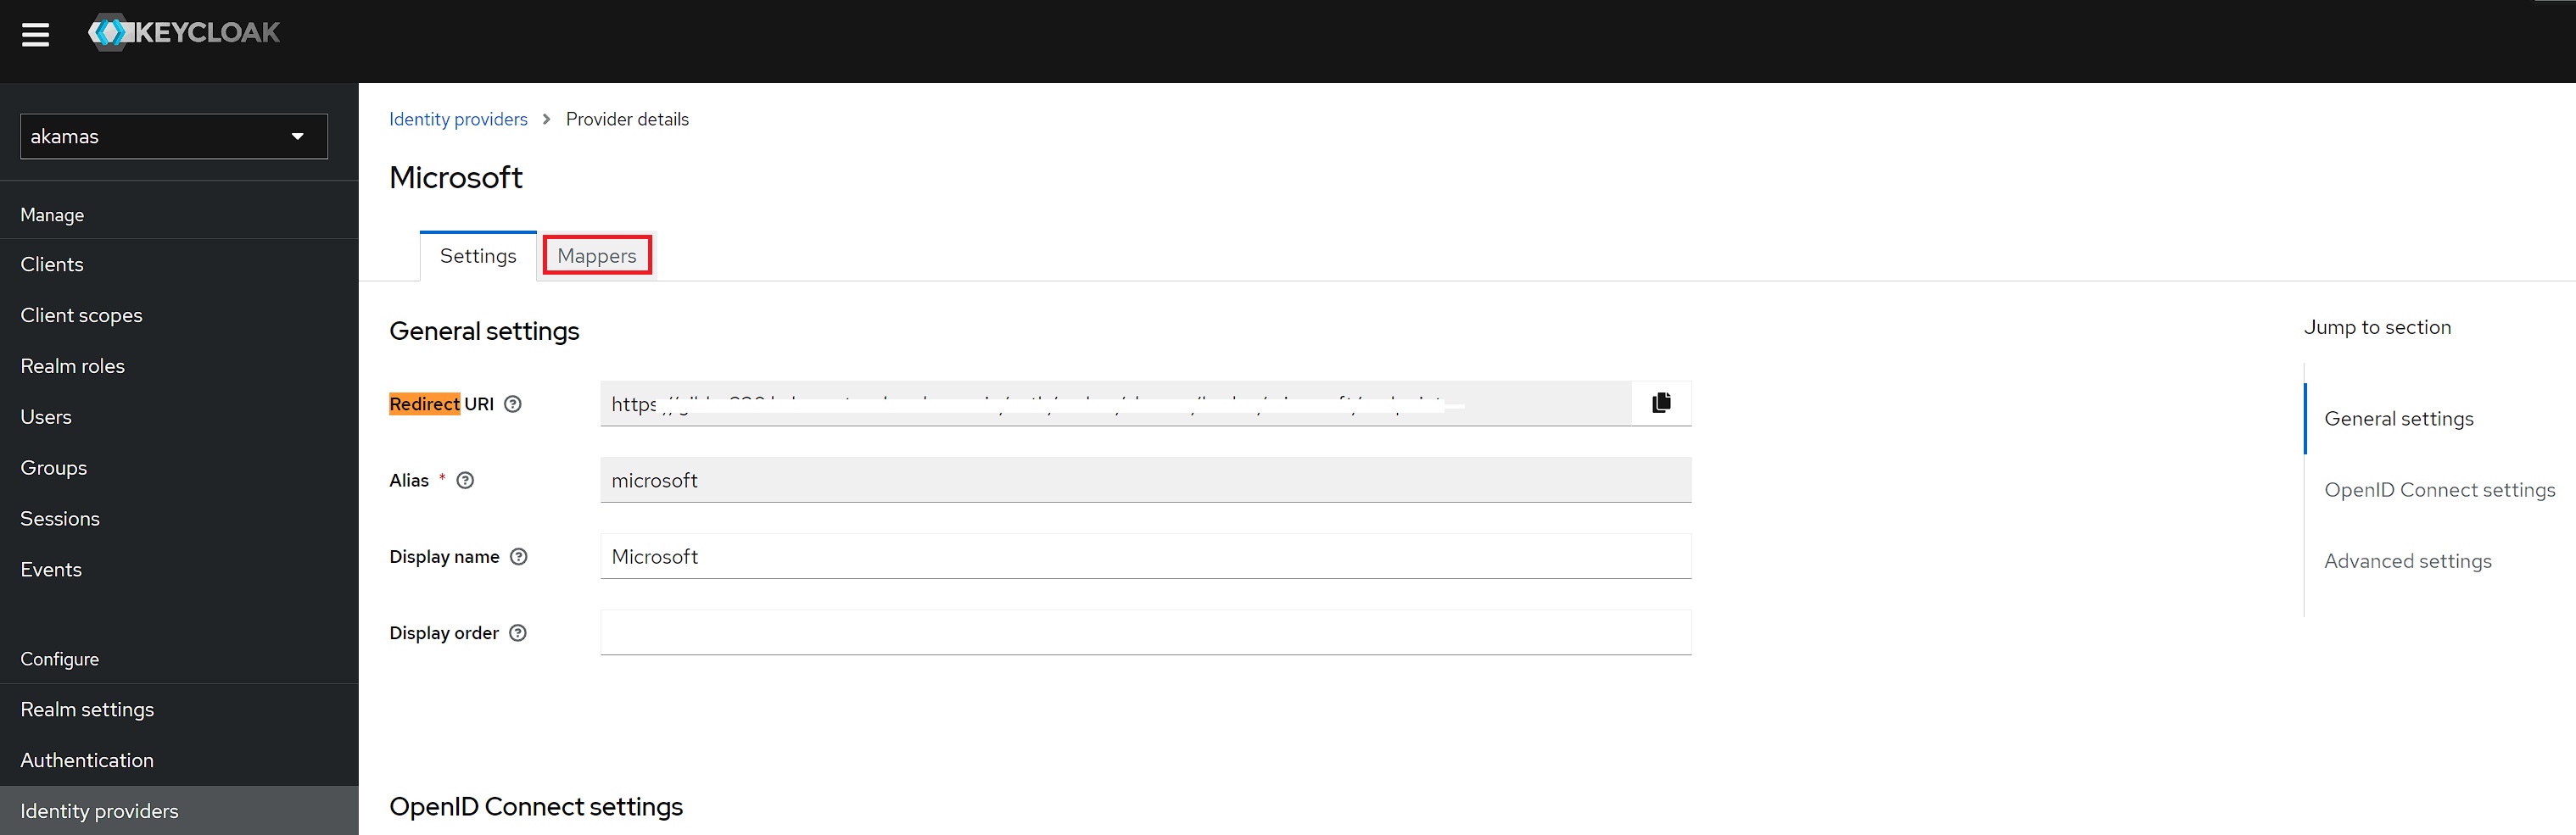
Click **Add** to complete the configuration. Copy the **Redirect URI** from the details page of the new provider.
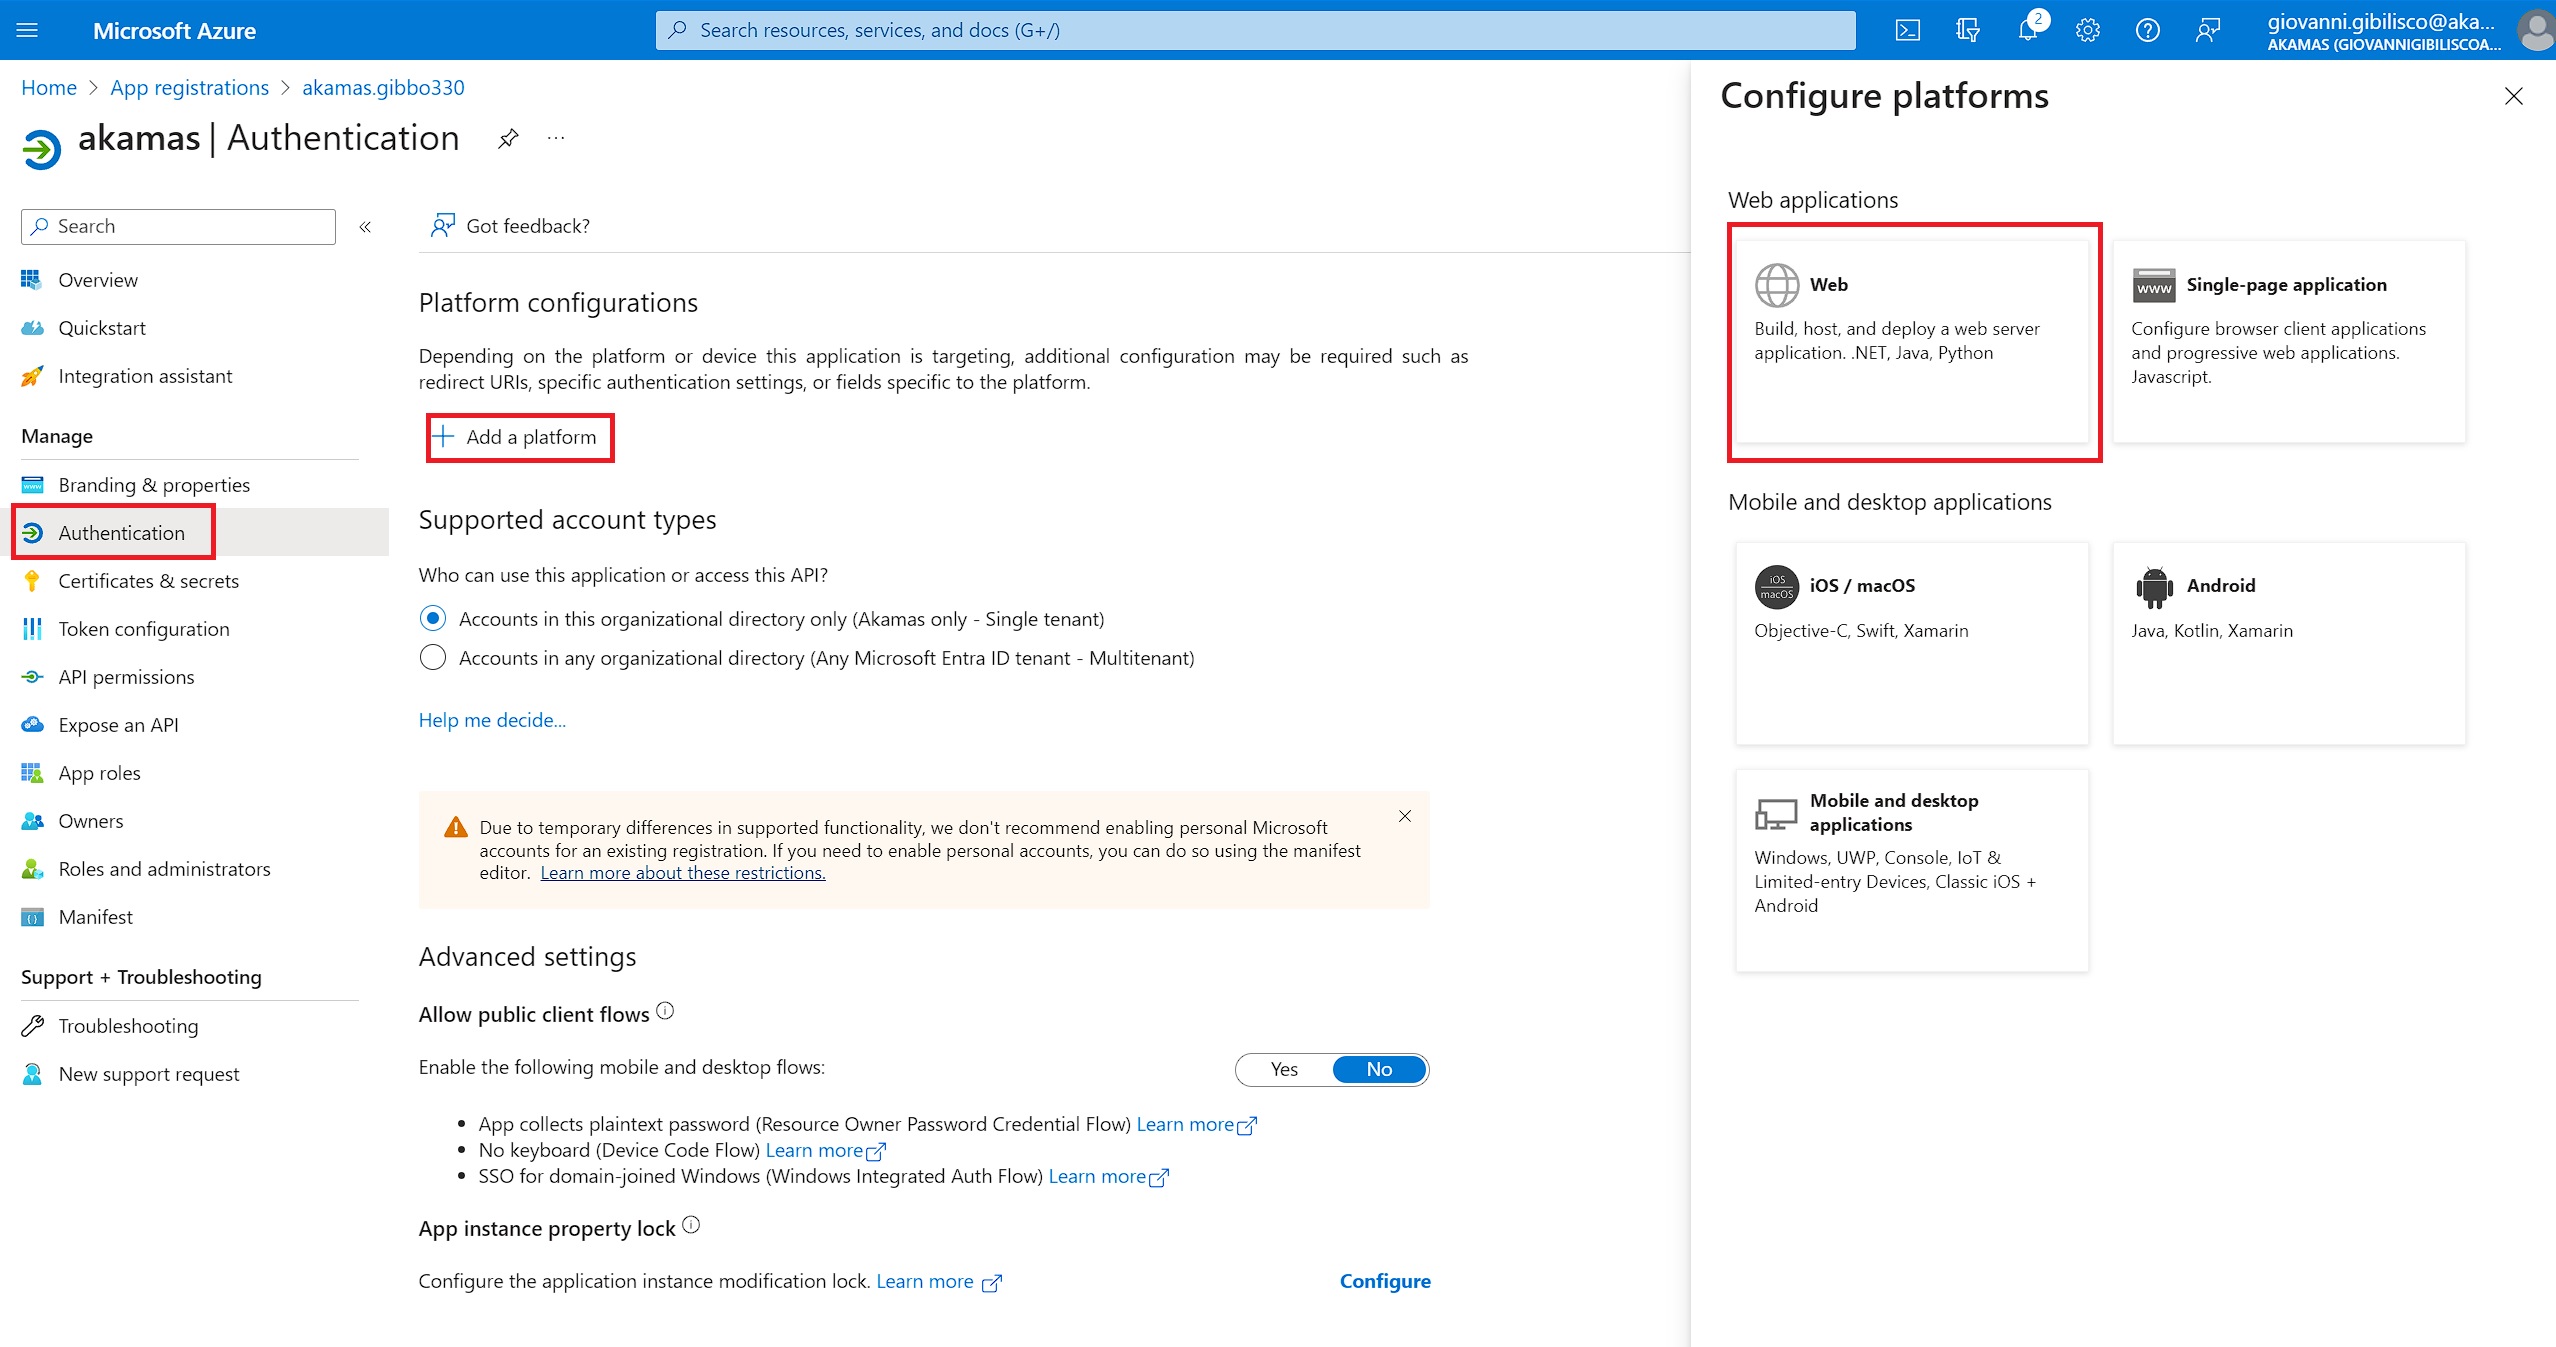
## Complete the app registration in Azure
Return to the Azure portal and open the app registration. In the **Authentication** section, add the **Web** platform (if not already present).
Add the Redirect URI from the Keycloak console to the list of redirect URIs.
Akamas is now configured to delegate user login to Azure AD.
{% hint style="warning" %}
If the hostname of the Akamas installation changes, update the **Redirect URI** in the app registration to avoid login errors such as:
> The redirect URI 'https\://...' specified in the request does not match the redirect URIS configured for the application '...'.
> {% endhint %}
## Configure the default Akamas roles
To automatically assign default roles to users, set up mappers in Keycloak so users can access the default workspace with read and write permissions upon first login.
In Keycloak, go to the provider's details page and navigate to **Mappers**:
Add the following configurations:
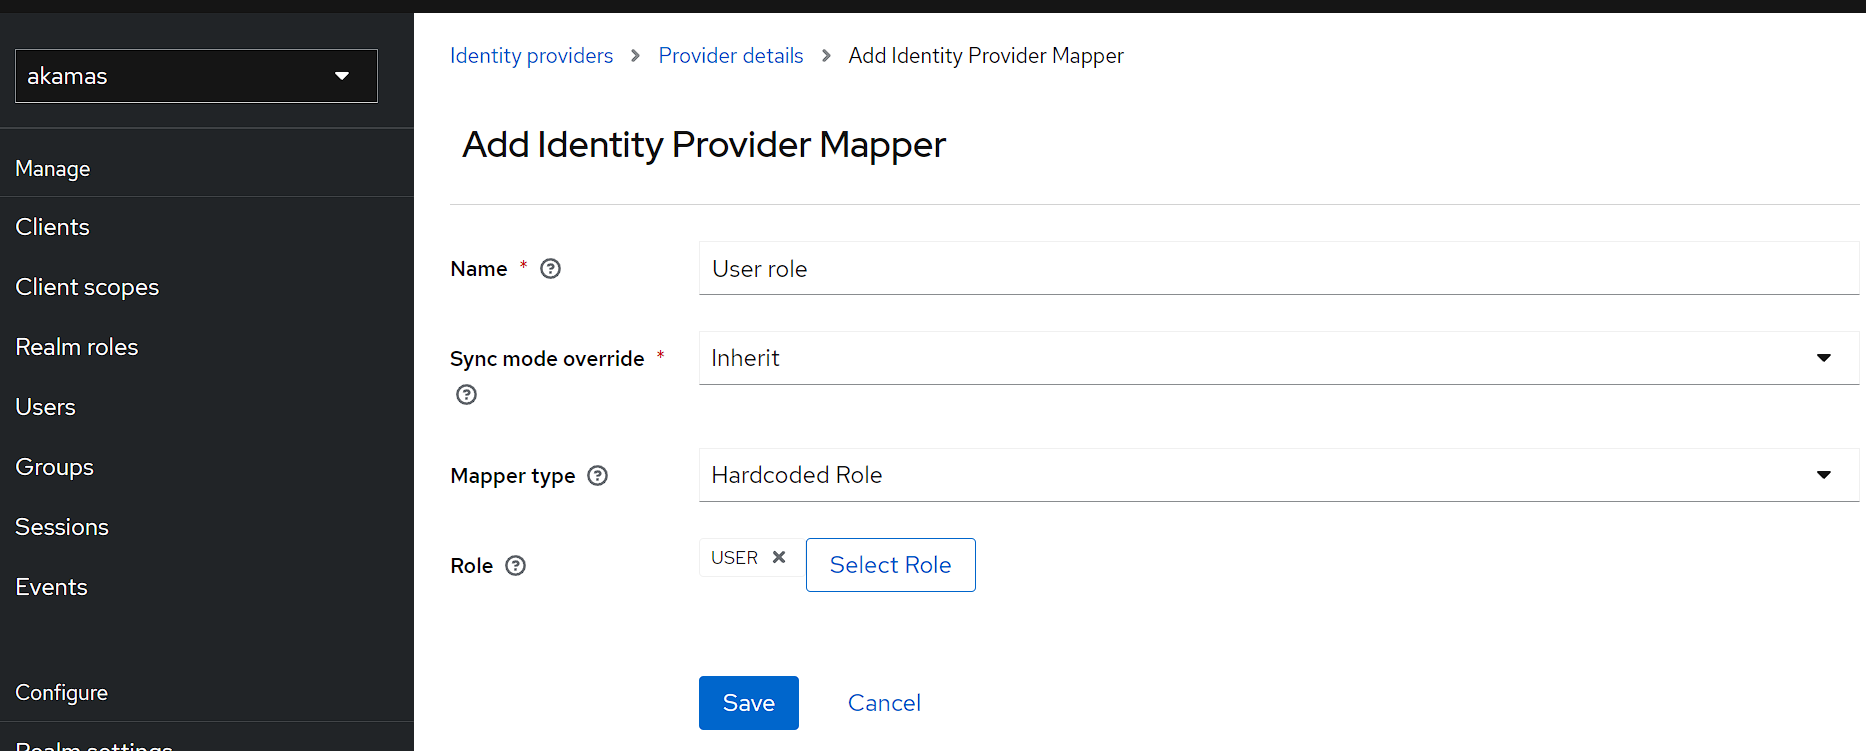
**User role**
* **Name**: *User role*
* **Mapper type**: *Hardcoded role*
* **Role**: *USER*
User Role map
**Default Workspace Read**
* **Name**: *Default Workspace Read*
* **Mapper type**: *Hardcoded role*
* **Role**: *WS\_ac8481d3-d031-4b6a-8ae9-c7b366f027e8\_R*
**Default Workspace Write**
* **Name**: *Default Workspace Write*
* **Mapper type**: *Hardcoded role*
* **Role**: *WS\_ac8481d3-d031-4b6a-8ae9-c7b366f027e8\_W*
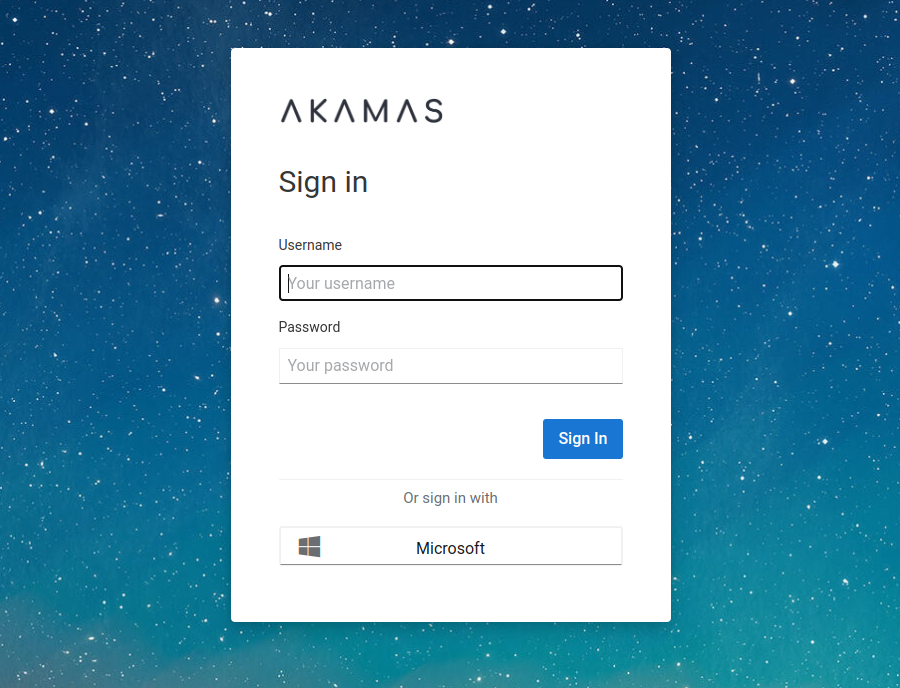
## Test the integration
Visit the Akamas installation's login page to verify that the new authentication method is displayed and working as expected.